Lens
Download from k8slens.dev or install the Homebrew formula.
Generating a Cluster’s kubeconfig
Once Lens is downloaded, it needs a kubeconfig file to authenticate with a server. Using a Geodesic shell, run set-cluster [cluster-name] to generate a kubeconfig in /conf/.kube. The file will be named after the cluster and current user’s role; e.g. set-cluster platform-use2-dev will generate a file named like /conf/.kube/kubecfg.platform-use2-dev-admin.
The easiest way to access this cluster from Lens is to copy the kubeconfig to the current system user's ~/.kubeconfig folder which is represented as /localhost/.kubeconfig inside of the Geodesic shell.
Example
set-cluster platform-use2-dev
cp /conf/.kube/kubecfg.platform-use2-dev-admin /localhost/.kubeconfig/
The filename does not include specific context to the project. They can be renamed on the local user’s system as needed, if naming conflicts arise.
Example:
mv /localhost/.kubeconfig/kubecfg.platform-use2-dev-admin localhost/.kubeconfig/kubecfg.namespace-platform-use2-dev-admin where namespace is a relevant, distinguishable attribute for that config.
Importing kubeconfig
On the Catalog view, click the + in the bottom corner and select the config file imported in the previous step.
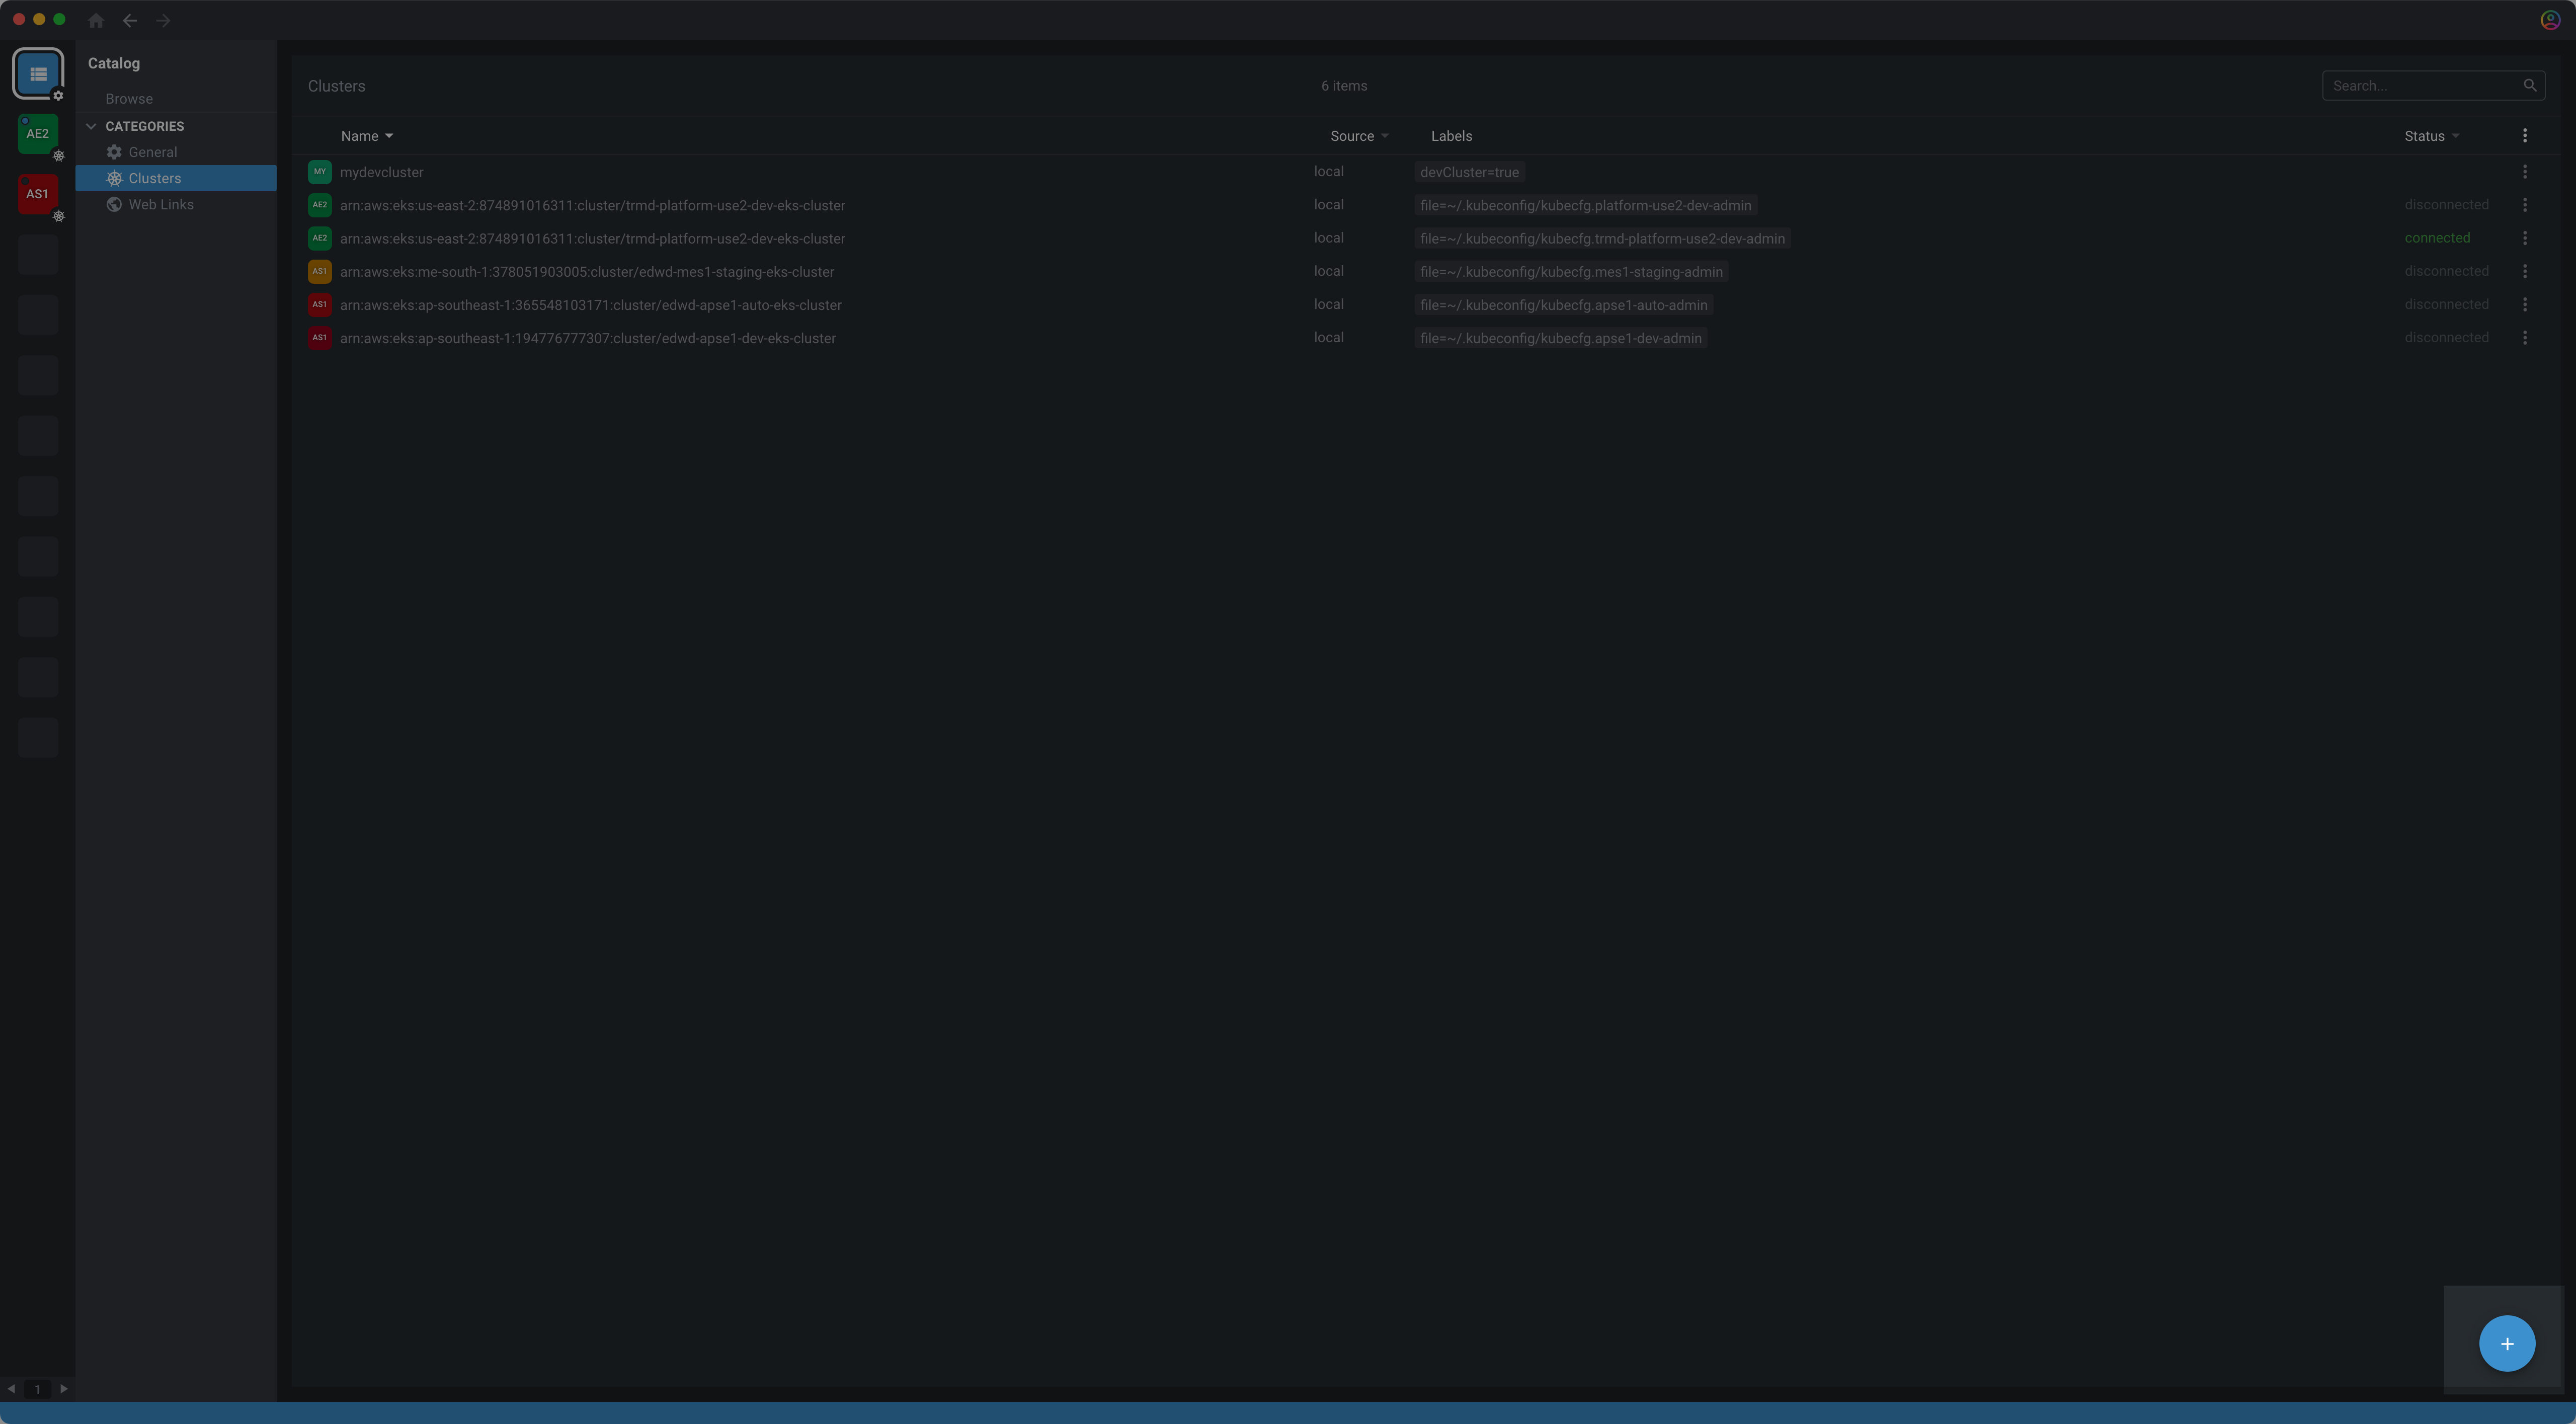
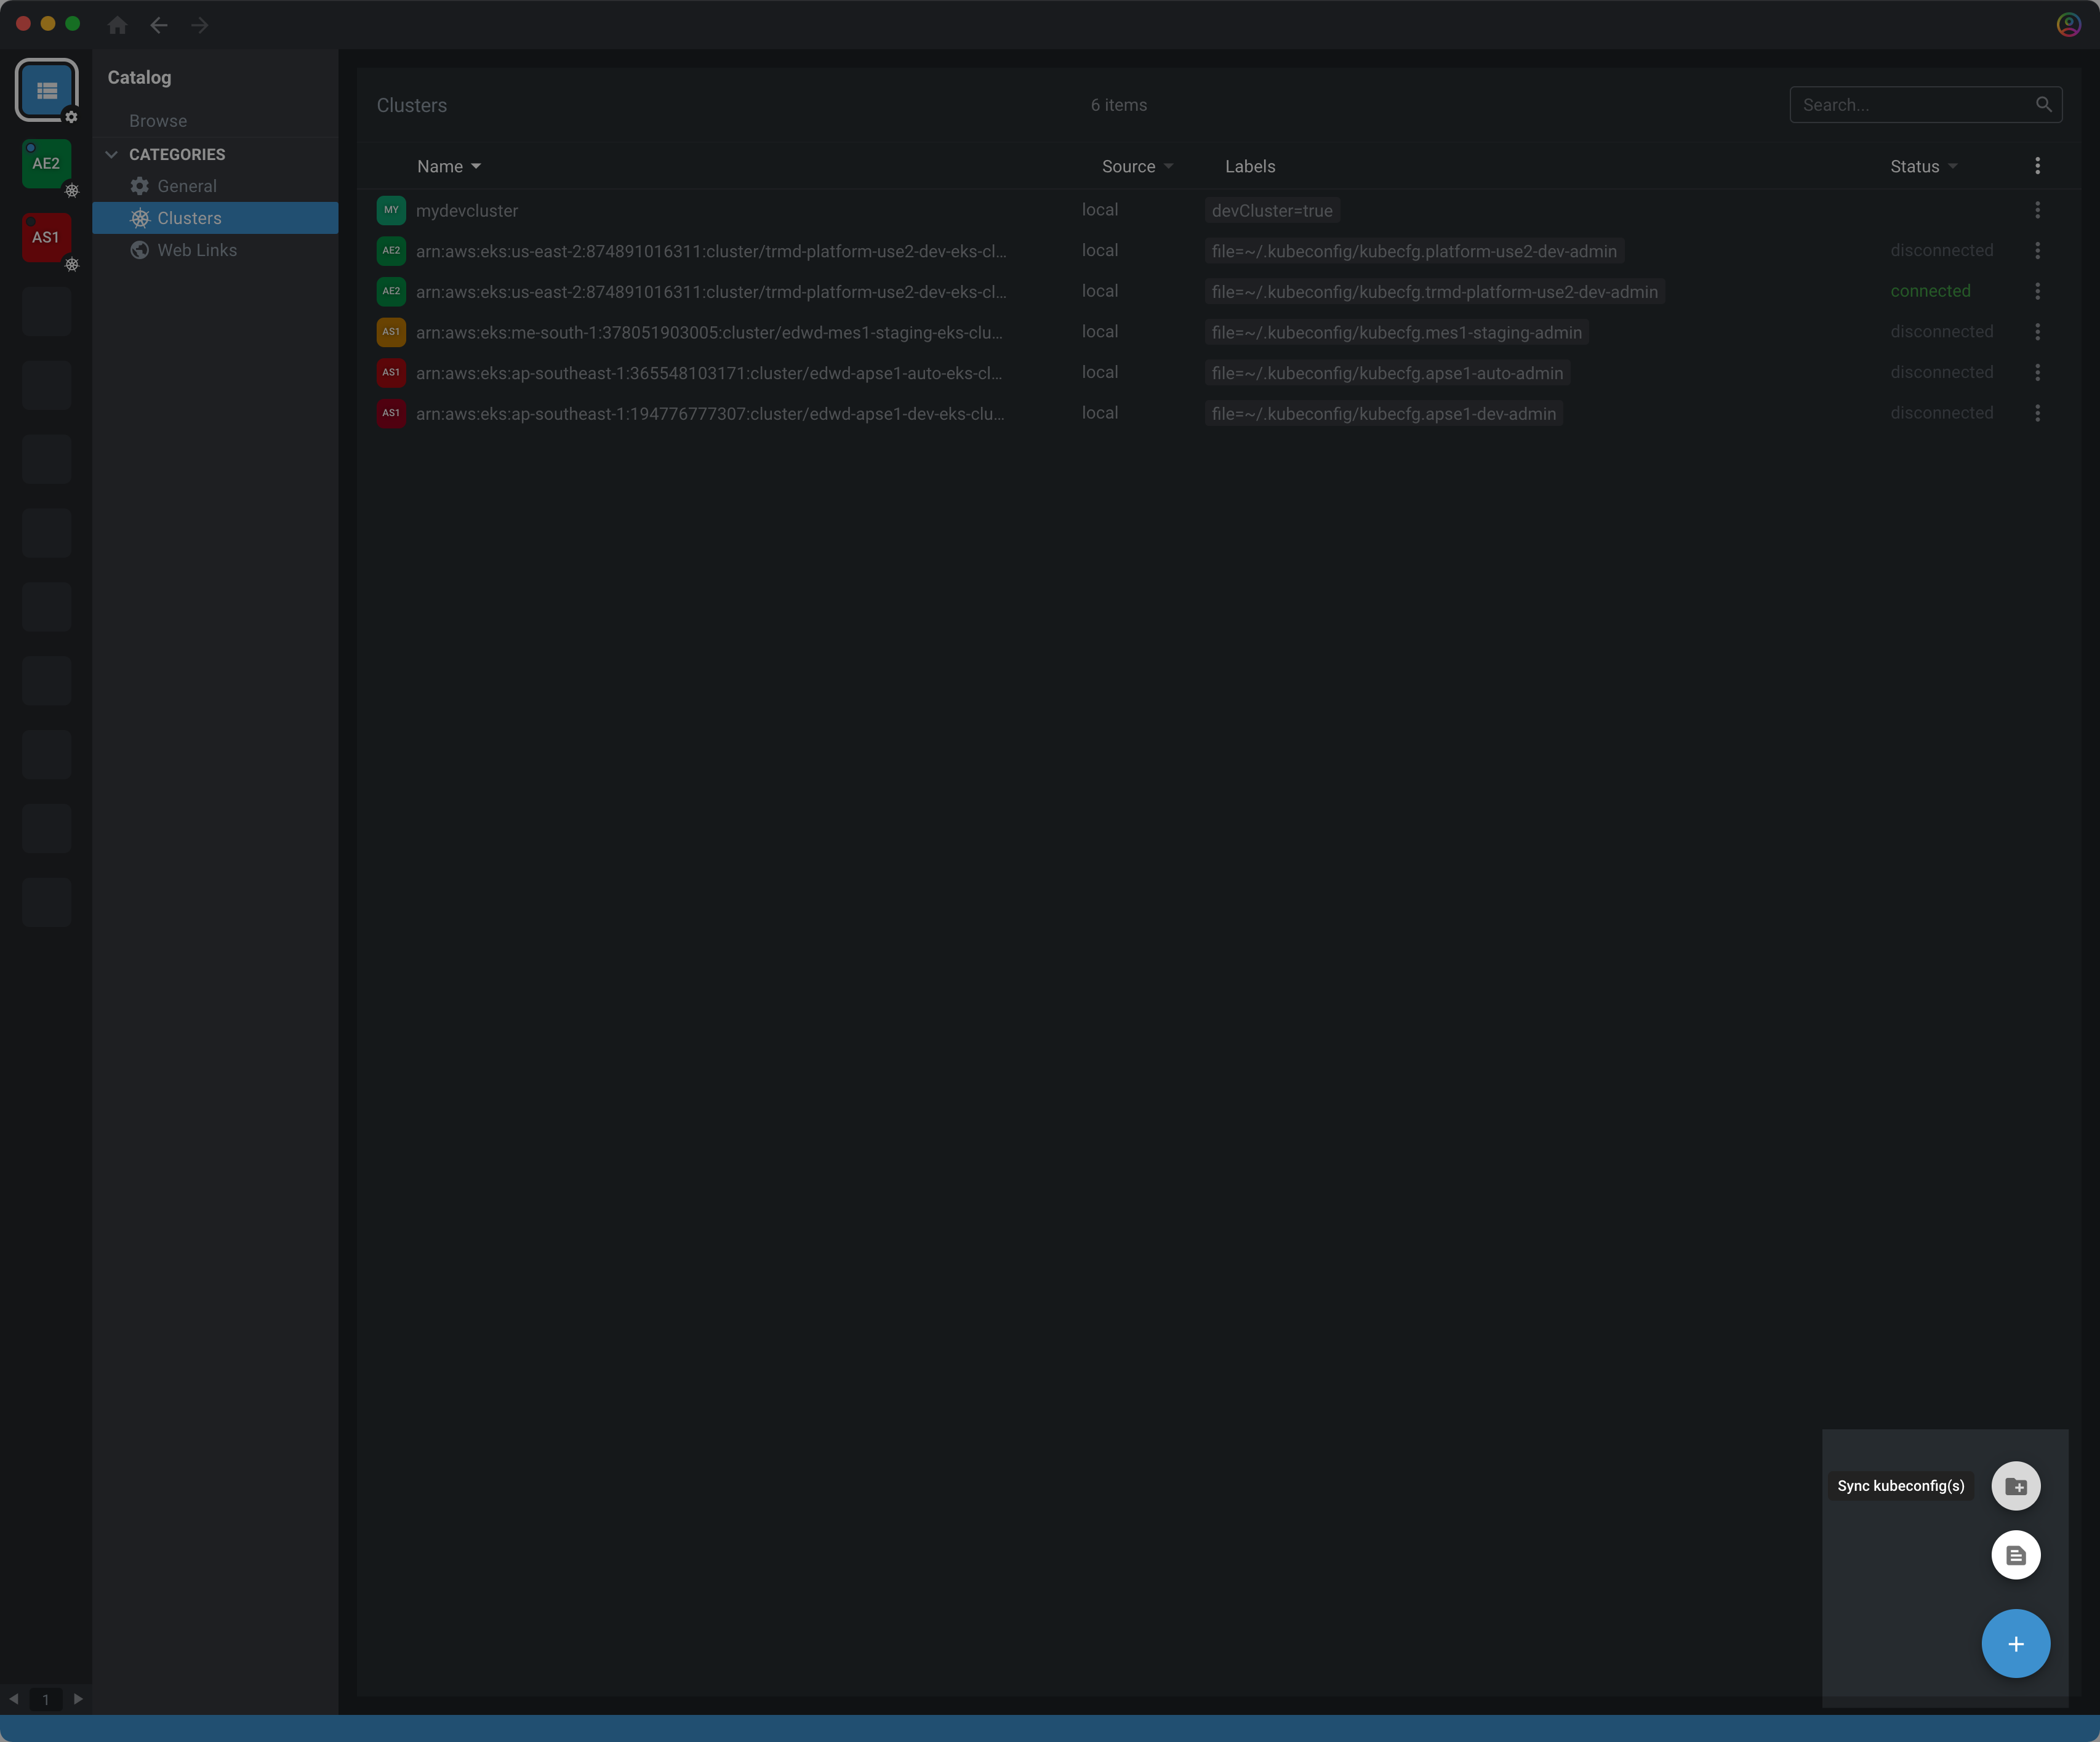
The configs can also be synced by hovering over the + button and clicking “Sync kubeconfig(s)” button.
Connecting to a Cluster
Click cluster within the list on the specific cluster.
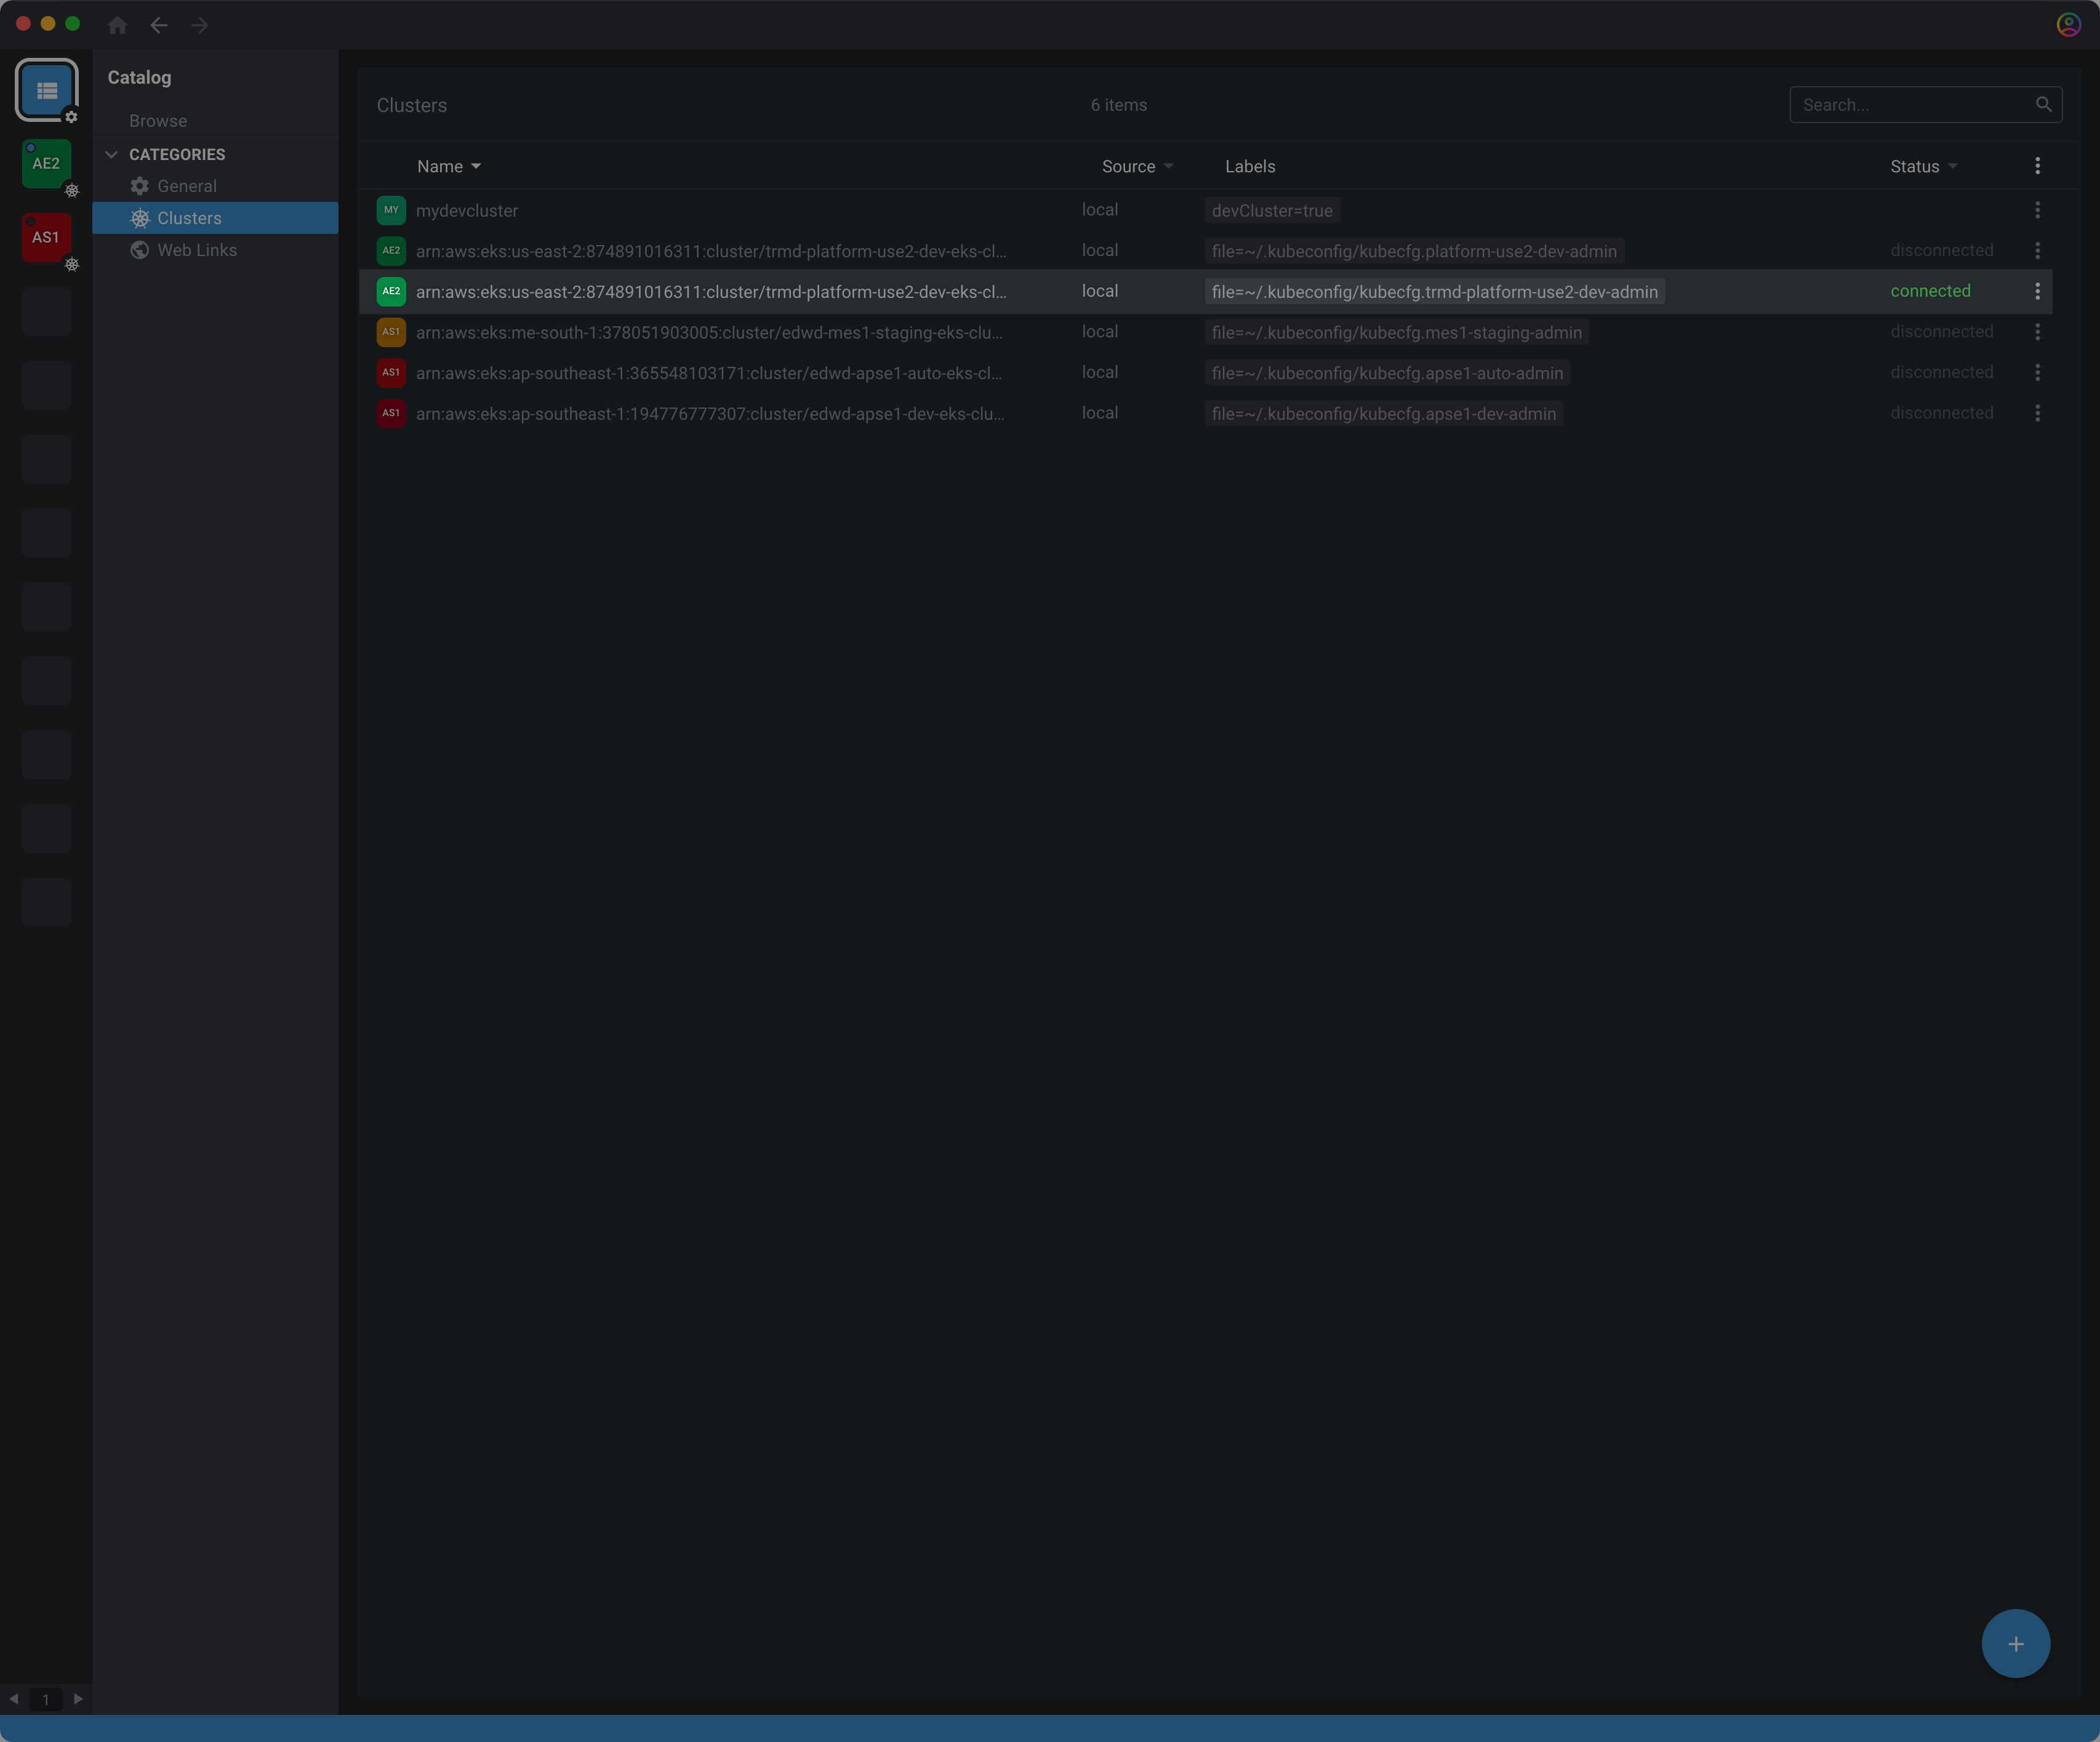
Click the pin icon to place the cluster in the sidebar.
Once the cluster connects, the following screen will be available to use.
