Getting started with Geodesic v4
In the landscape of developing infrastructure, there are dozens of tools that we all need on our personal machines to do our jobs. In SweetOps, instead of having you install each tool individually, we use Docker to package all of these tools into one convenient image that you can use as your infrastructure automation toolbox. We call it Geodesic and we use it as our DevOps automation shell and as the base Docker image for all of our DevOps scripting / CI jobs.
In this tutorial, we'll walk you through how to use Geodesic to execute Terraform and other tooling. We'll be sure to talk about what is going on under the hood to ensure you're getting the full picture.
Geodesic v4 is the current version This documentation is for Geodesic v4, which is the current version. While it is largely the same as earlier versions, there are some significant differences, and we have retained documentation on Geodesic v3 for those who have yet to make the switch. Please be aware of which version of Geodesic and which version of the documentation you are using in case you find inconsistencies.
Prerequisites
System Requirements
To accomplish this tutorial, you'll need to have Docker installed on your local machine. That's all.
Although Geodesic is supplied as a Docker image, it is best used by installing a wrapper shell script
that configures the Docker container to mount directories and files from your local machine and support
running multiple bash shells simultaneously. To install the wrapper script, you must have write
access to either /usr/local/bin or $HOME/.local/bin on your local machine, and you must have
the installed directory in your $PATH.
Geodesic Usage Patterns
Let's talk about a few of the ways that one can run Geodesic. Our toolbox has been built to satisfy many use-cases, and each result in a different pattern of invocation:
2 Build Your Own Toolbox
You can build your own toolbox on top of Geodesic. This is what Cloud Posse generally recommends to practitioners.
We do this when we want to provide additional packages or customization to our team while building on the foundation
that Geodesic provides. This is relatively to do by using Geodesic as your base image (e.g. FROM cloudposse/geodesic:latest-debian) in your own Dockerfile, adding your own Docker RUN commands or overriding
environment variables, and then customizing the Geodesic Makefile with your own DOCKER_ORG, DOCKER_IMAGE, DOCKER_FILE, and APP_NAME variables. (There are other variables you can customize as well, but these are the most common ones.) Then you can run make build to create a new image, make install to install the wrapper script that will run it, and then run it via the APP_NAME you configured. If you like, you can do this all in one step by running make all.
3 Quick Install
You can skip using make and just install Geodesic
Example: docker run --rm cloudposse/geodesic:latest-debian init | bash installs /usr/local/bin/geodesic (or $HOME/.local/bin/geodesic) on your local machine which you can
execute repeatedly via simply typing geodesic. In this example, we're pinning the script to use the cloudposse/geodesic:latest-debian docker image, but we could also pin to our own image or to a specific version.
4 Run Standalone
You can run standalone Geodesic as a standard docker container using docker run, but in this mode, Geodesic
will not have access to your local machine's files, so it is less useful. Some use cases are to provide tools to
debug a Kubernetes cluster by installing Geodesic as a pod in the cluster, or to use it as a CI/CD tool where the
tool takes care of mounting the required files and directories.
5 Interactive Shell Example
Example: docker run -it --rm --volume $PWD:/workspace cloudposse/geodesic:latest-debian --login opens a bash login
shell (--login is our Docker CMD here; it's actually just the arguments passed to the bash shell which is our ENTRYPOINT) in our Geodesic container.
6 One-Off Command Example
Example: docker run --rm cloudposse/geodesic:latest-debian -c "terraform version" executes the terraform version command as a one-off and outputs the result.
In this tutorial, we'll be running the installed Geodesic geodesic to allow us to take advantage of the wrapper script's features.
Tutorial
1 Install the Geodesic Wrapper Script
First, at your terminal, let's install the Geodesic shell!
# Since the "latest" tag changes, ensure we do not have a stale image
docker image rm cloudposse/geodesic:latest-debian # OK if image not found
docker run --rm cloudposse/geodesic:latest-debian init | bash
The result of running this command should look something like this:
# Installing geodesic from cloudposse/geodesic:latest-debian...
# Installed geodesic to /usr/local/bin/geodesic
2 Start the Geodesic Shell
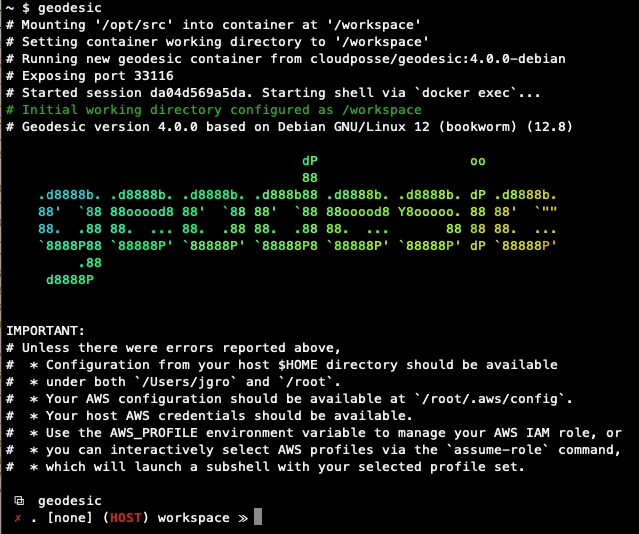
You should now be able to launch a Geodesic shell just by typing geodesic at your terminal:
geodesic
Exit it for now by typing exit or pressing logout.
3 Download our Tutorial Project
Great -- we've started up Geodesic so now let's do something with it. How about we pull a terraform project and apply it? To accomplish this, let's do the following:
4 TODO: Continue updates from here
# Change to our /localhost directory so that we can pull our project's code to our
# local machine as well as our docker container
cd /localhost

# Clone our tutorials repository
git clone https://github.com/cloudposse/tutorials

# Change to our tutorial code
cd tutorials/01-geodesic
Easy! And since we changed into our /localhost directory inside Geodesic, the tutorials project that we git cloned is available both in the container that we're running our shell in and on our local machine in our $HOME directory. This enables us to share files between our local machine and our container, which should start to give you an idea of the value of mounting $HOME into Geodesic.
5 Apply our Terraform Project
Now that we've got some code to work with, let's apply it...
# Setup our terraform project
terraform init

# Apply our terraform project
terraform apply -auto-approve
Sweet, you should see a successful terraform apply with some detailed output data on the original star wars hero! 😎
Just to show some simple usage of another tool in the toolbox, how about we parse that data and get that hero's name?
6 Read some data from our Outputs
Let's utilize jq to grab some info from that terraform project's output:
# Pipe our terraform project's output into jq so we can pull out our hero's name
terraform output -json | jq .star_wars_data.value.name
Again, without having to install anything, we've grabbed a tool from our toolbox and were able to use it without a second thought.
Conclusion
The beautiful thing about all of this is that we didn't need to install anything except Docker on our local machine to make this happen. Tools like git, terraform(all versions), and jq all involve specific installation instructions to get up and running using the correct versions across various machines/teams, but by using Geodesic we're able to quickly skip over all of that and use a container that includes them out of the box alongside dozens of other tools as well. And with the mounting of our $HOME directory to /localhost of the container, our Geodesic shell just ends up being an extension of our local machine. That is why we call it a toolbox as it enables consistent usage of CLI tools across your entire organization!
If you want to see another usage of Geodesic, read our next tutorial in the SweetOps series about one of our most important tools: atmos.