How to Setup SAML Login to AWS from Office 365
Problem
Office 365 is a common business suite that has an active director to manage users and permissions. We need to utilize this to login to AWS.
Solution
Azure Devops has Enterprise Apps that are used to sign into things from your O365 Account.
AWS SAML
-
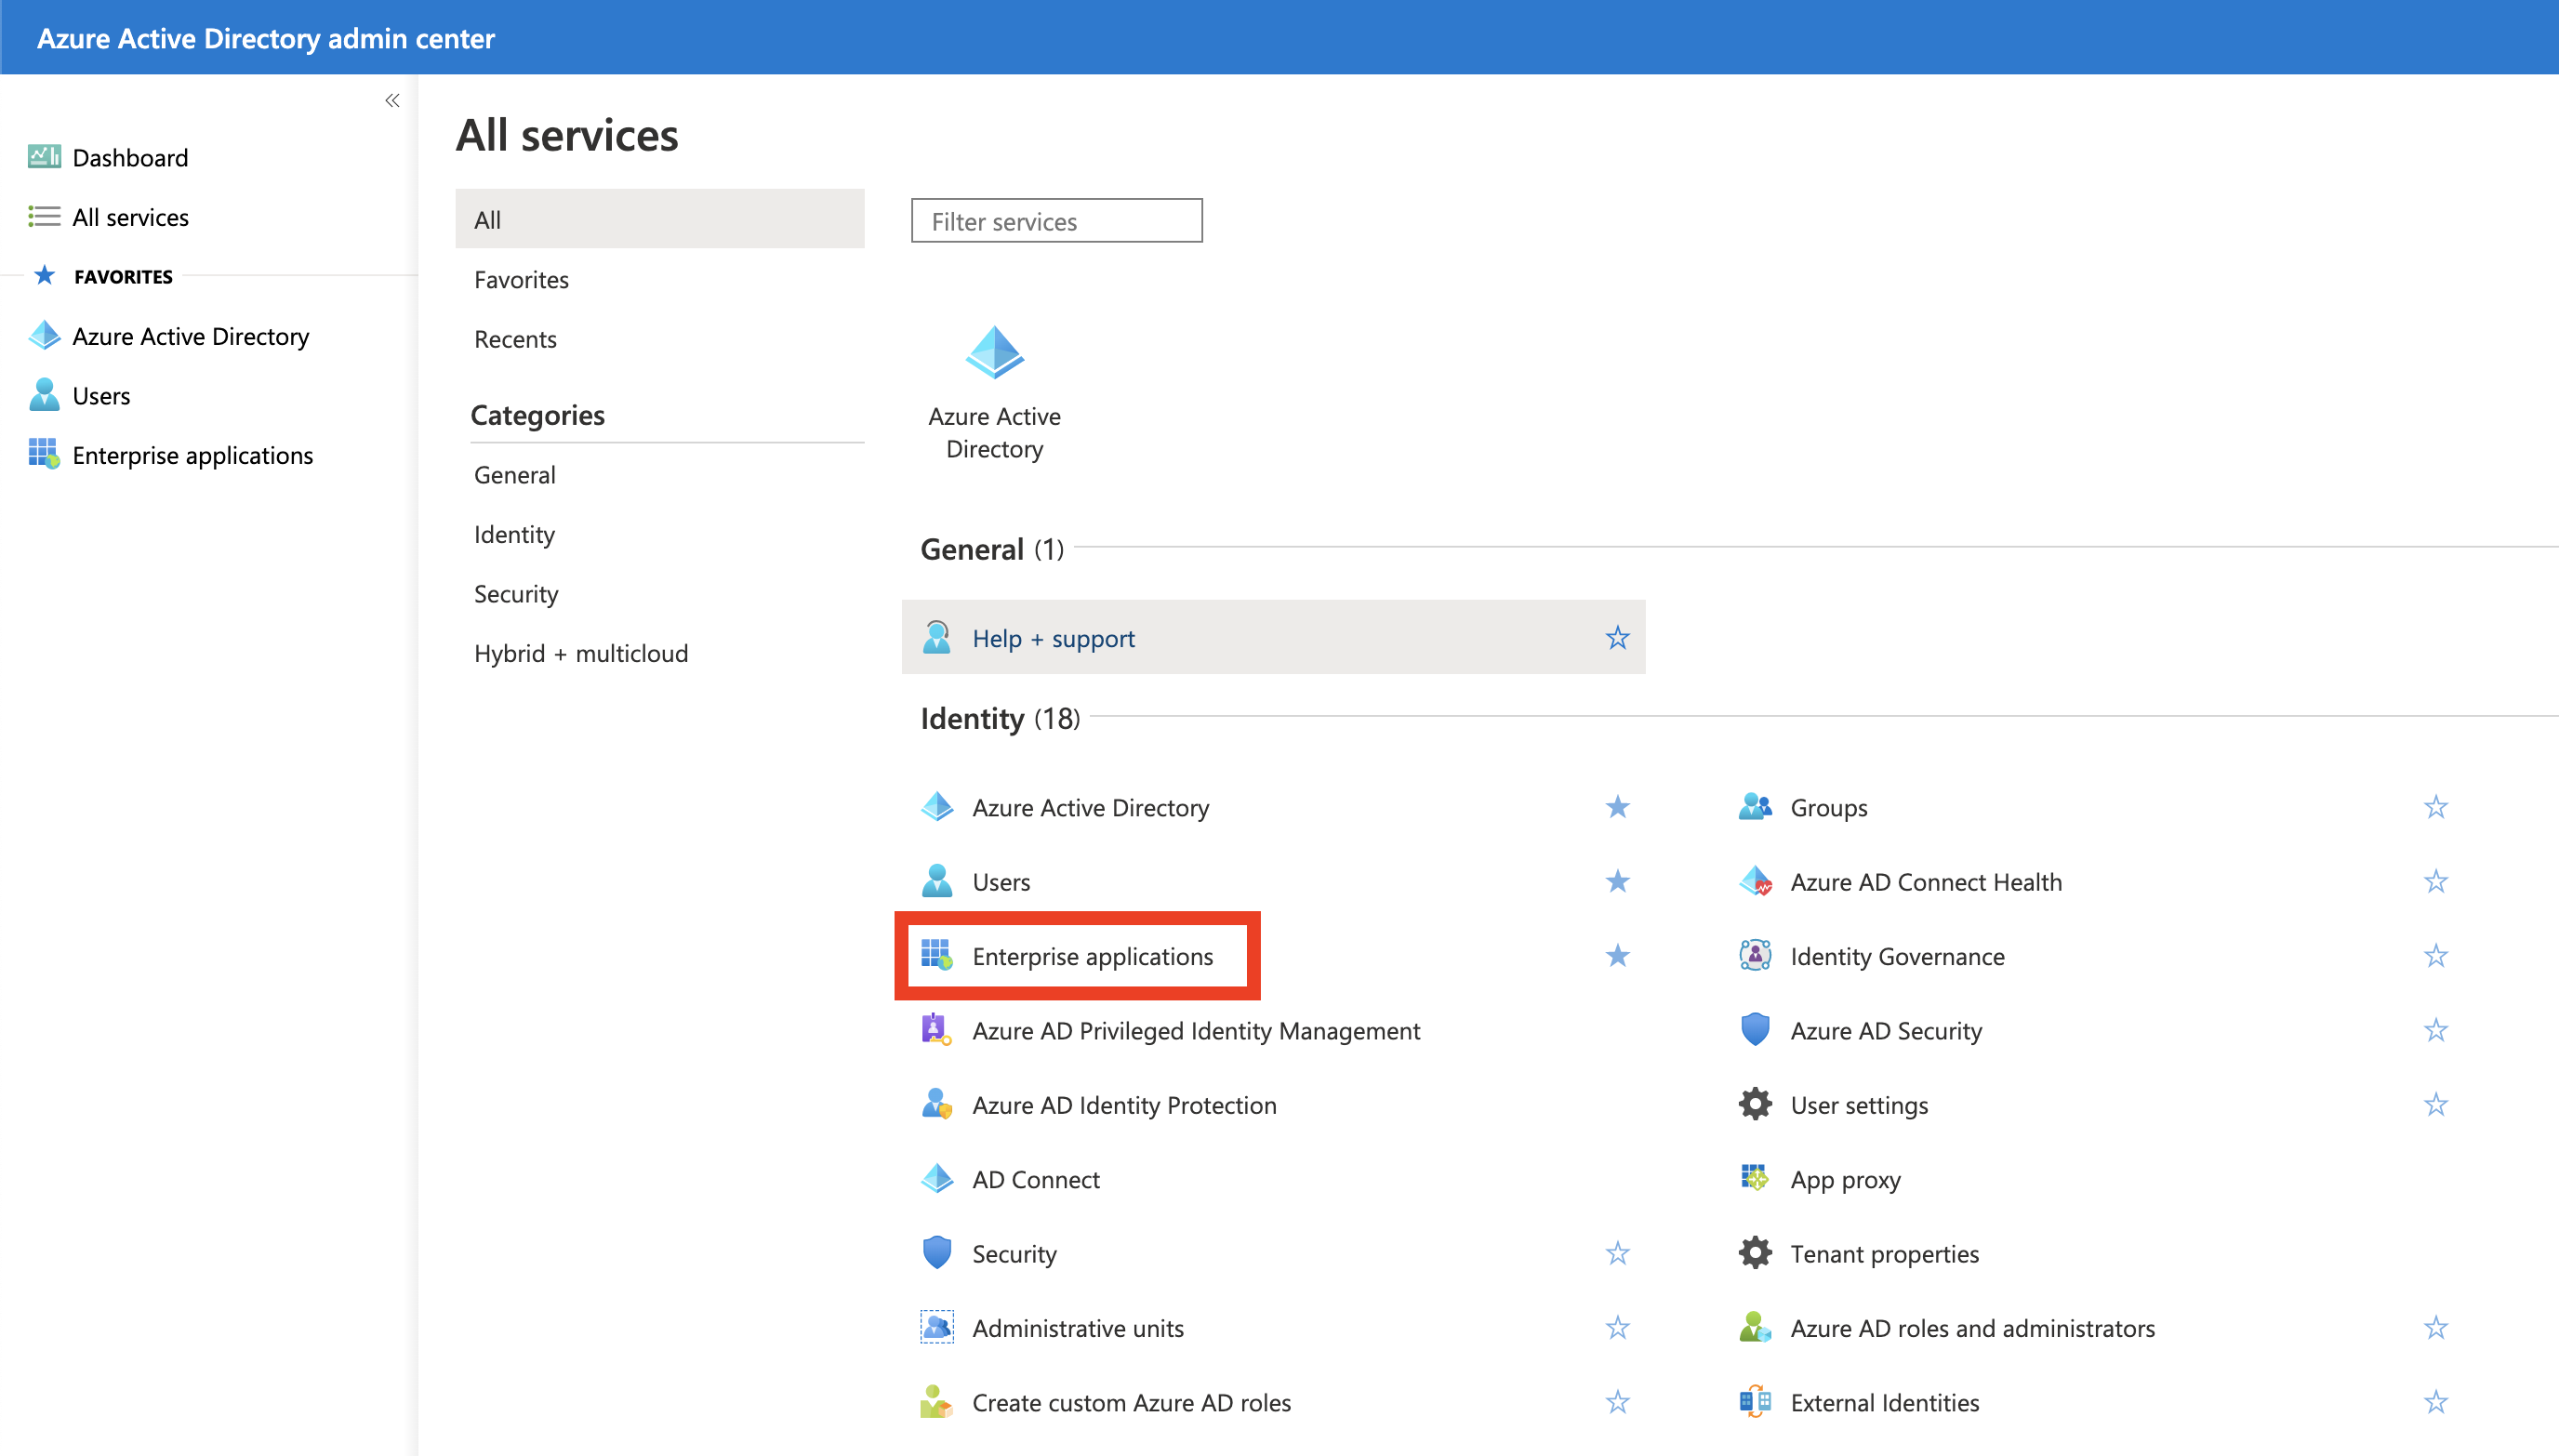
Under https://aad.portal.azure.com/#allservices/category/All go to Enterprise Applications
-
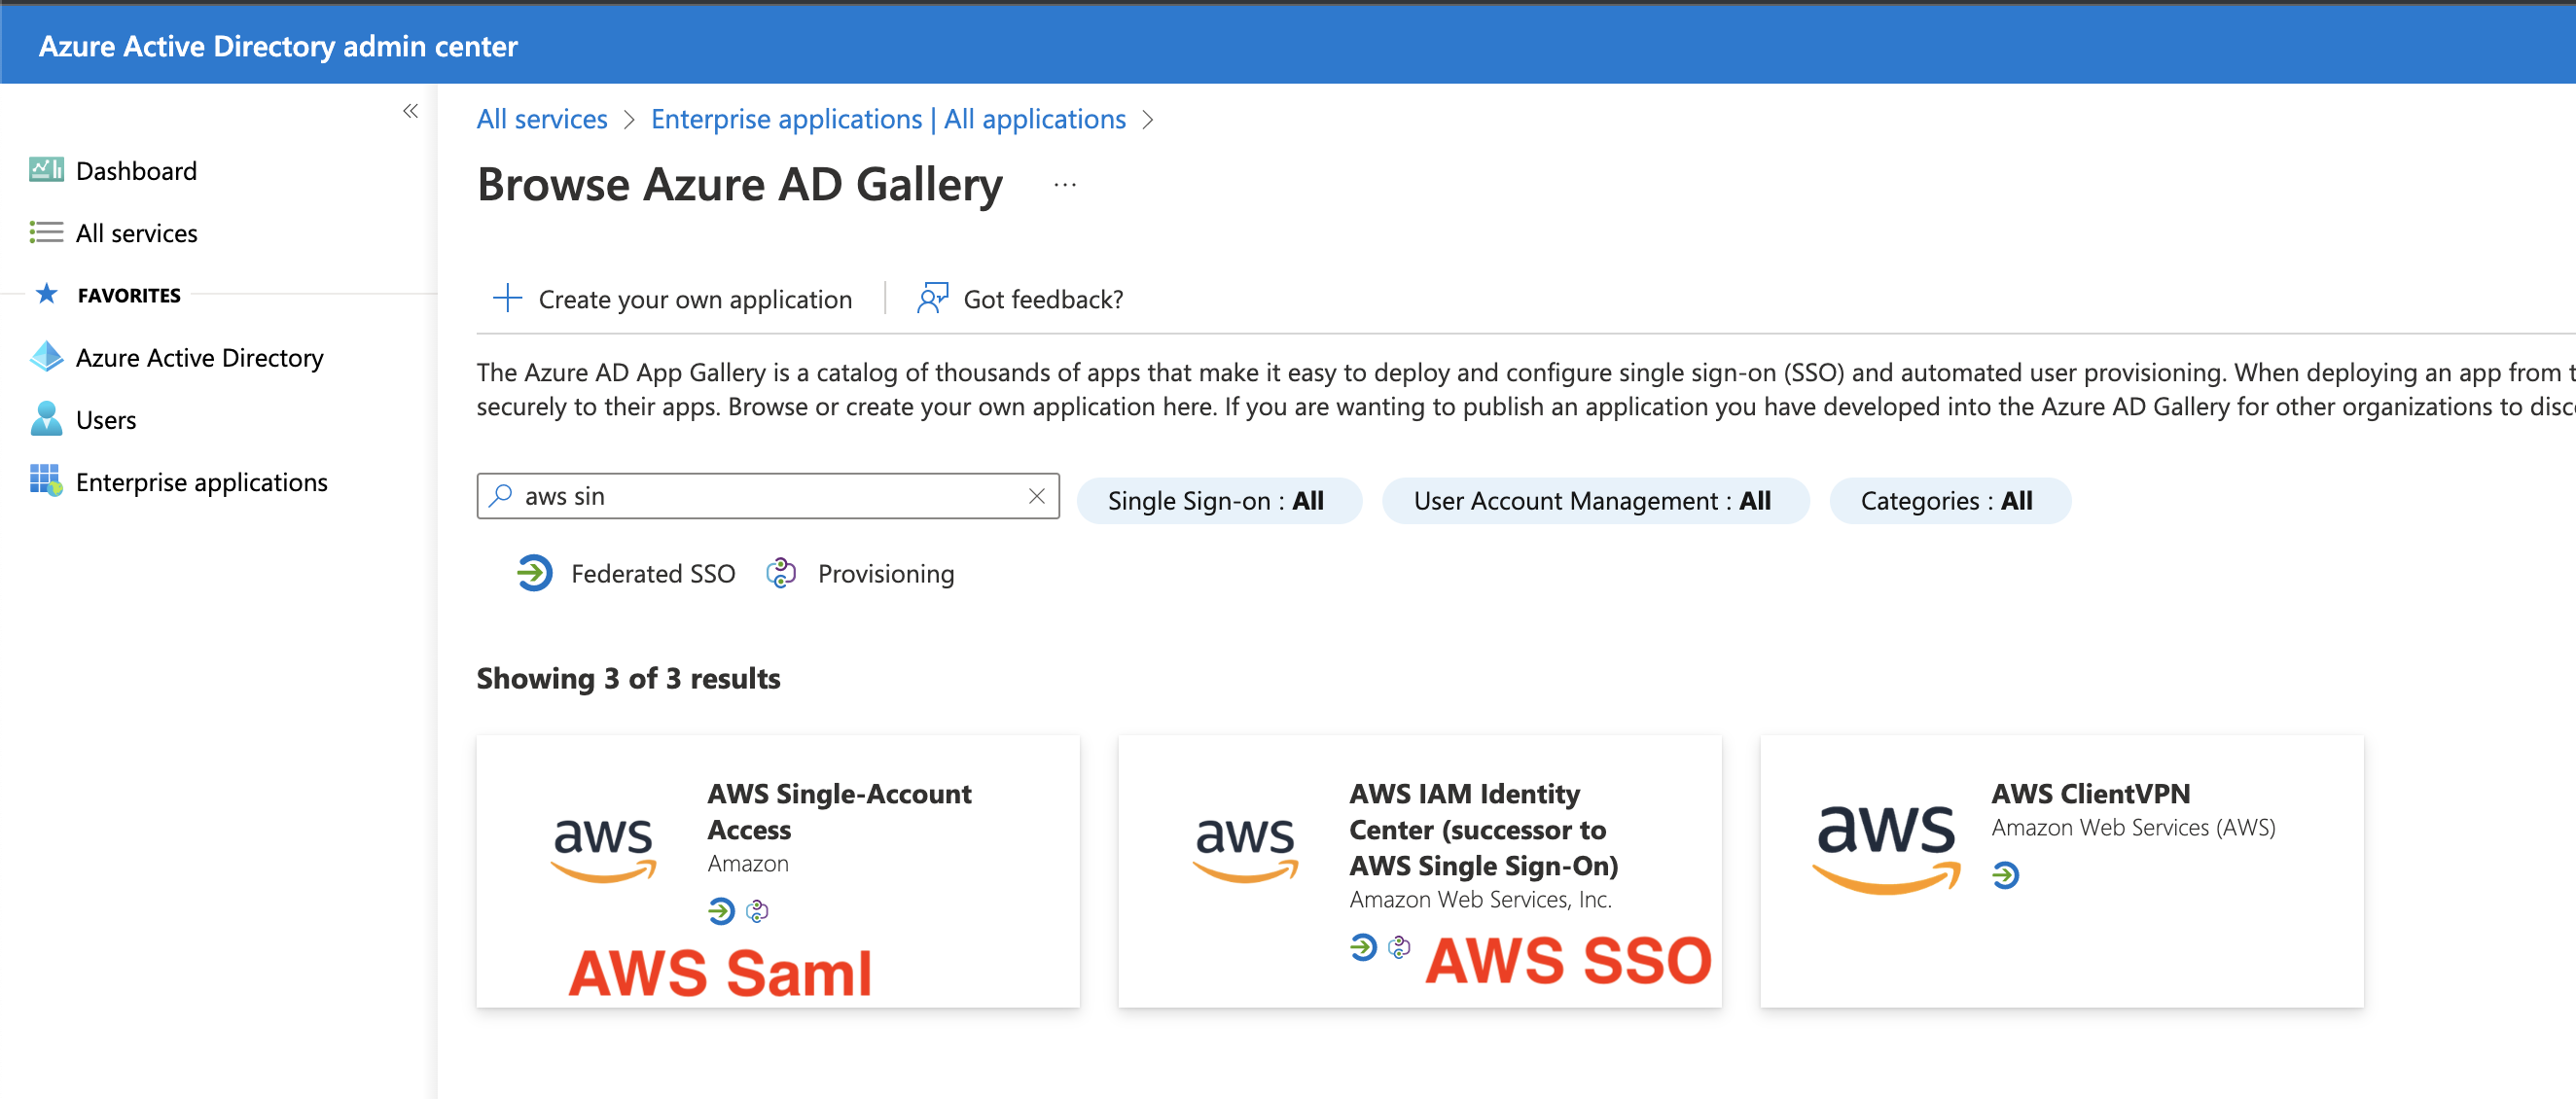
Click New Application
-
Choose the right application, for SAML it’s AWS Single-Account Access
-
Click Create, default options are fine
-
On the Left Panel Click Single sign-on
-
Choose SAML as the Select a single sign-on method.
-
You may be prompted to change or use the defaults, if you have many aws single account logins you will need to modify the defaults.
-
Ensure the Identifier(Entity ID) is set to something valid (Should be
https://signin.aws.amazon.com/samloptionally add a#identifier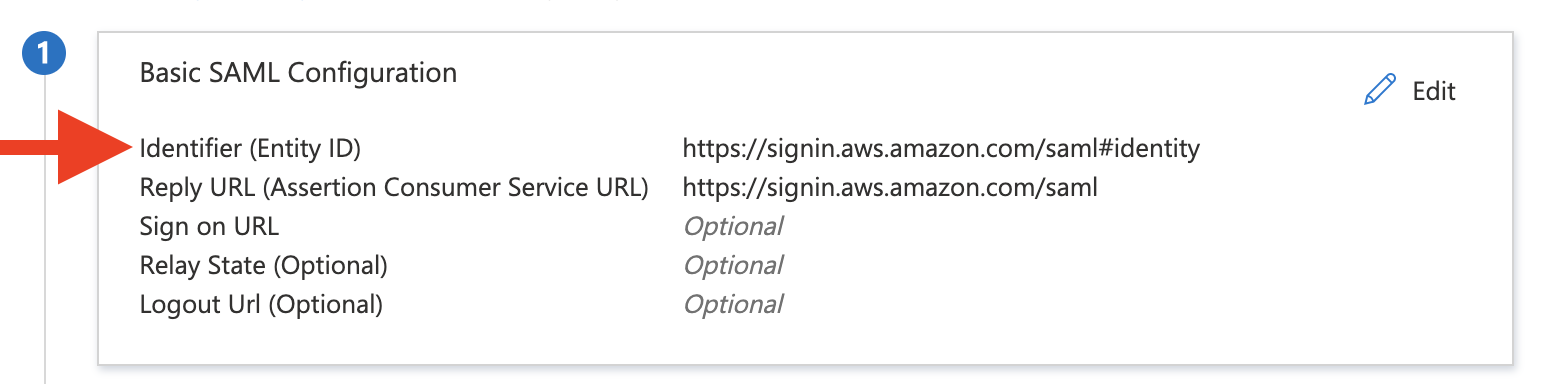
-
Download the XML File by Pressing the Button on Step 5 Setup <App Name>. This should download an XML File, please send this to the CloudPosse Team, this will be placed in your
aws-samlcomponent to add your login.
Setting up Login Role
The next steps determine which role you sign into from the app. By default we recommend this be the admin team role that has administrative in almost every account (besides creating roles in identity, nor organization permissions in root). If you want to use a different team role, please ensure you understand the team permissions.
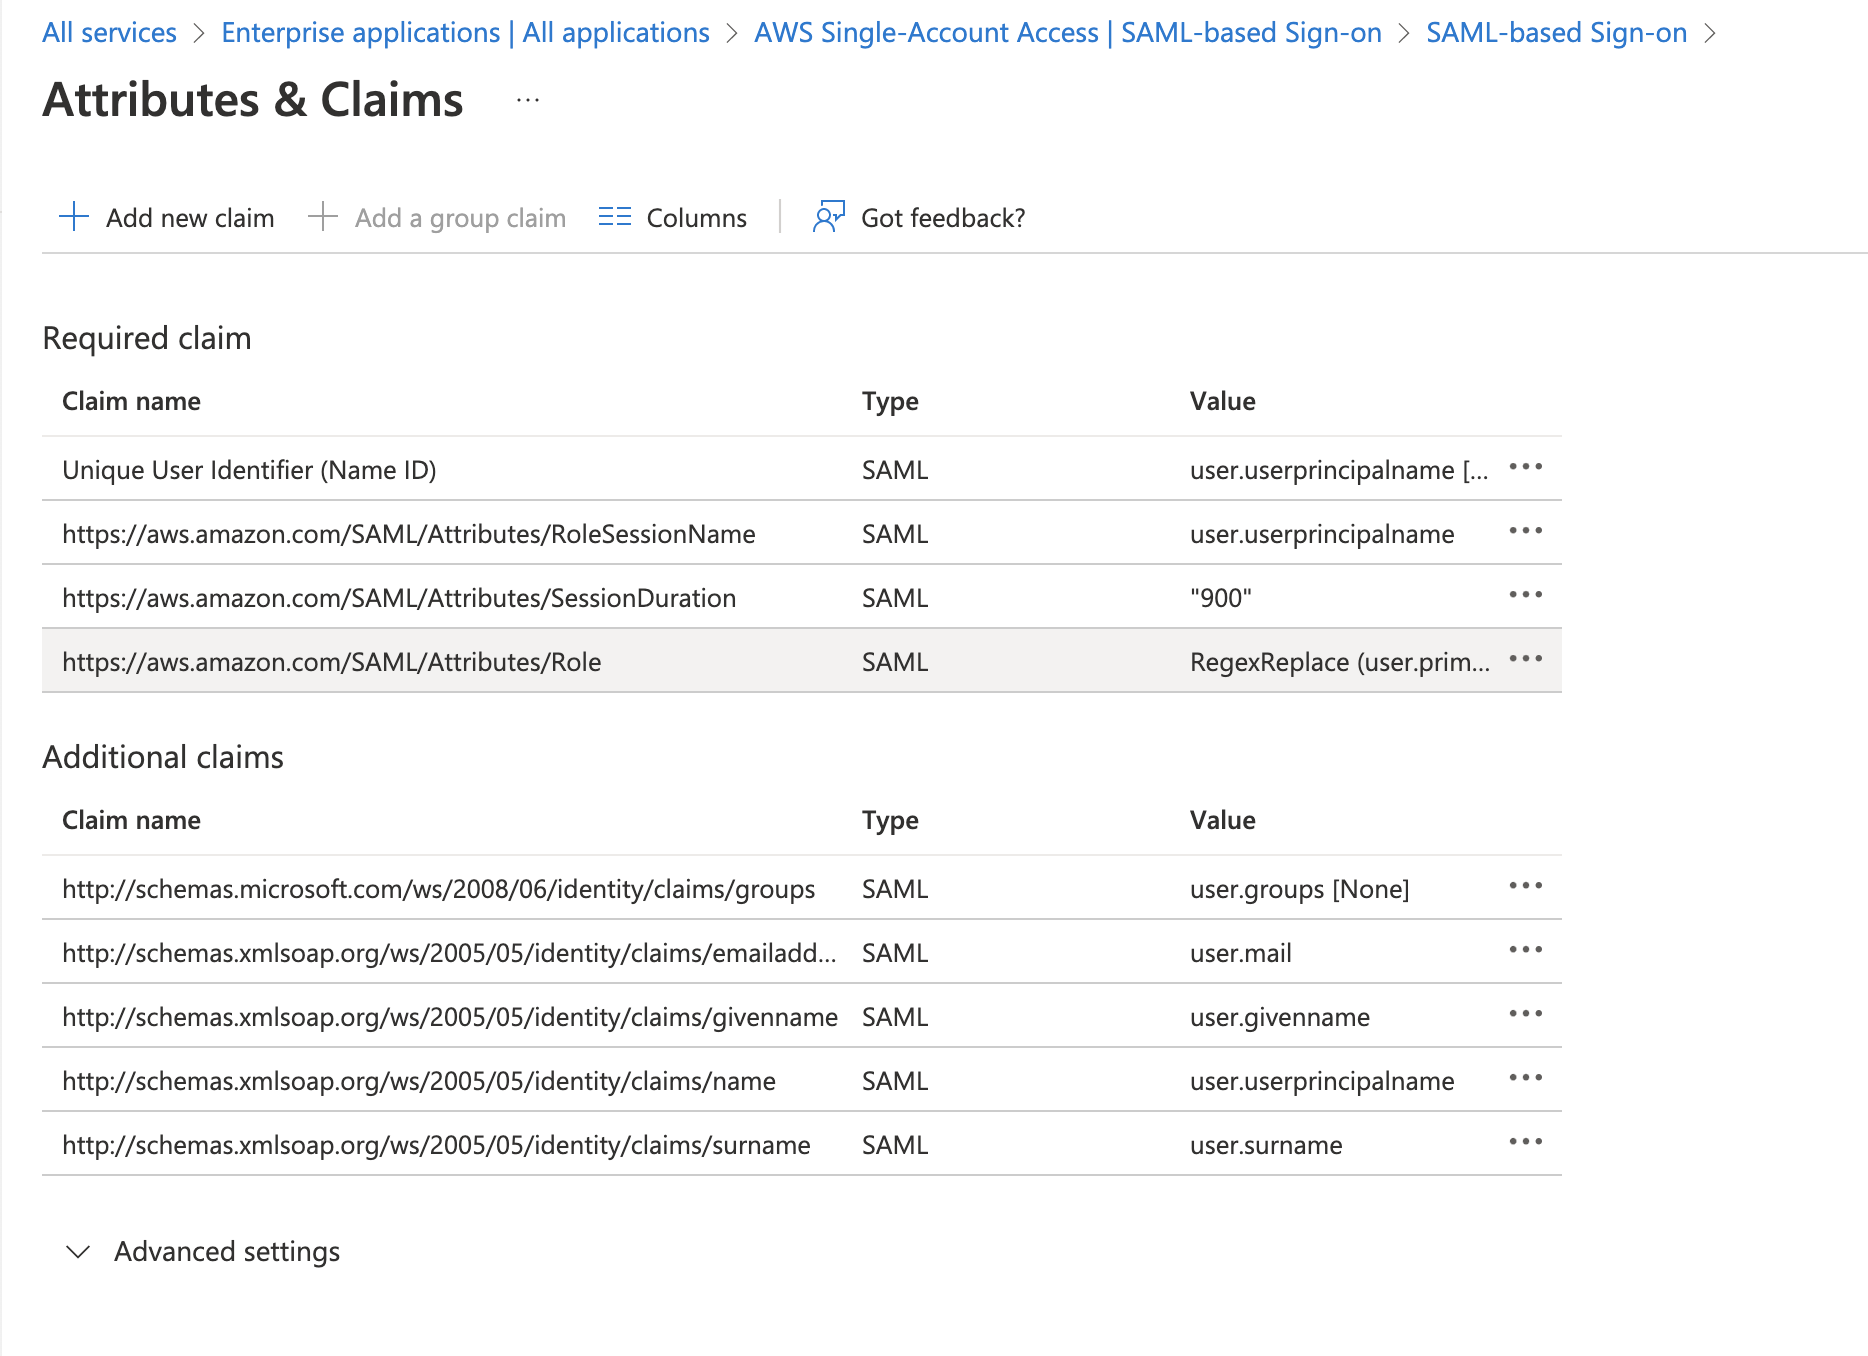
Under the apps Single sign-on configuration (where the last steps left off) Step 2 has an attribute called Role. this is the Role given to the user to attempt to sign into.
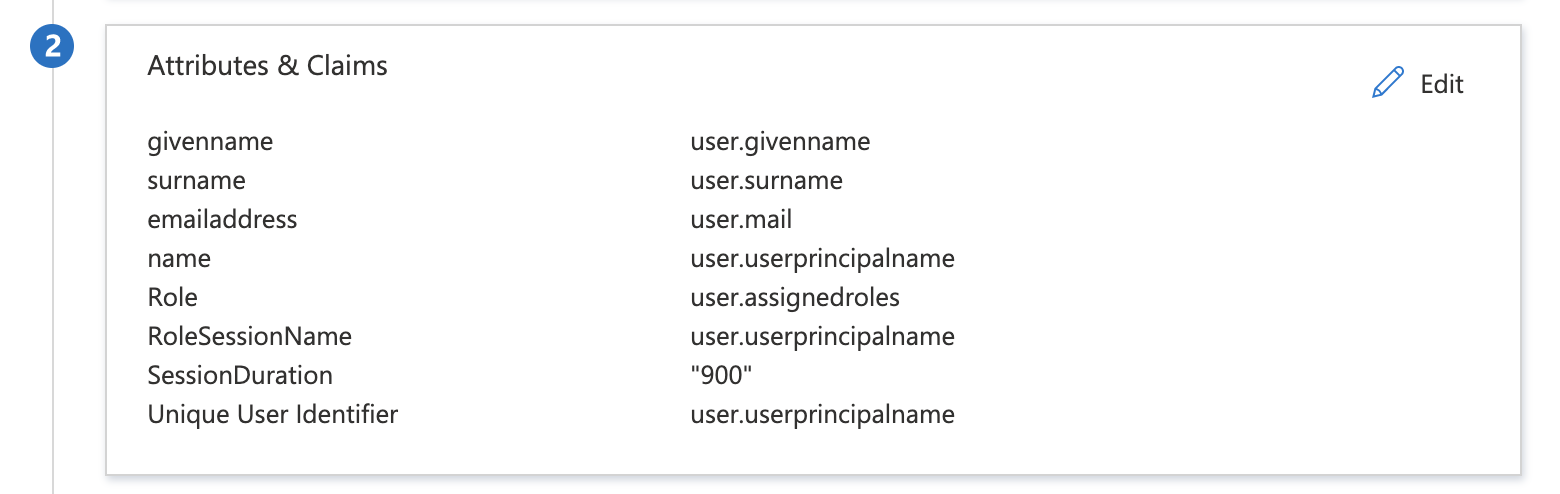
The AWS Docs (https://docs.aws.amazon.com/IAM/latest/UserGuide/id_roles_providers_create_saml_assertions.html#saml_role-attribute) require this to be of the format:
<AttributeValue>arn:aws:iam::account-number:role/role-name1,arn:aws:iam::account-number:saml-provider/provider-name</AttributeValue>
This means your user.assignedroles in azure should be arn:aws:iam::account-number:role/role-name1,arn:aws:iam::account-number:saml-provider/provider-name
for example: arn:aws:iam::00000000000:role/abc-core-gbl-identity-admin,arn:aws:iam::00000000000:saml-provider/abc-core-gbl-identity-provider-azure-ad, these values are generated from the aws-saml component, and should be given by the CloudPosse Team.
Changing a Users Assigned Roles requires an escalated level of Azure Active Directory. (Hidden behind a paywall)
If you are using the most basic plan you can get around this paywall with a regex expression.
Workaround Regex:
- Step 2 edit the attributes and claims, edit specifically the Role
- Set the Source to be a transformation of anything such as
RegexReplace (user.primaryauthoritativeemail) - Set the
Regex patternto be(.+)$ - Set the
Replacement patternto be your valuearn:aws:iam::account-number:role/role-name1,arn:aws:iam::account-number:saml-provider/provider-name - Test the replacement and ensure you get a value like the
arn:aws:iam::account-number:role/role-name1,arn:aws:iam::account-number:saml-provider/provider-name.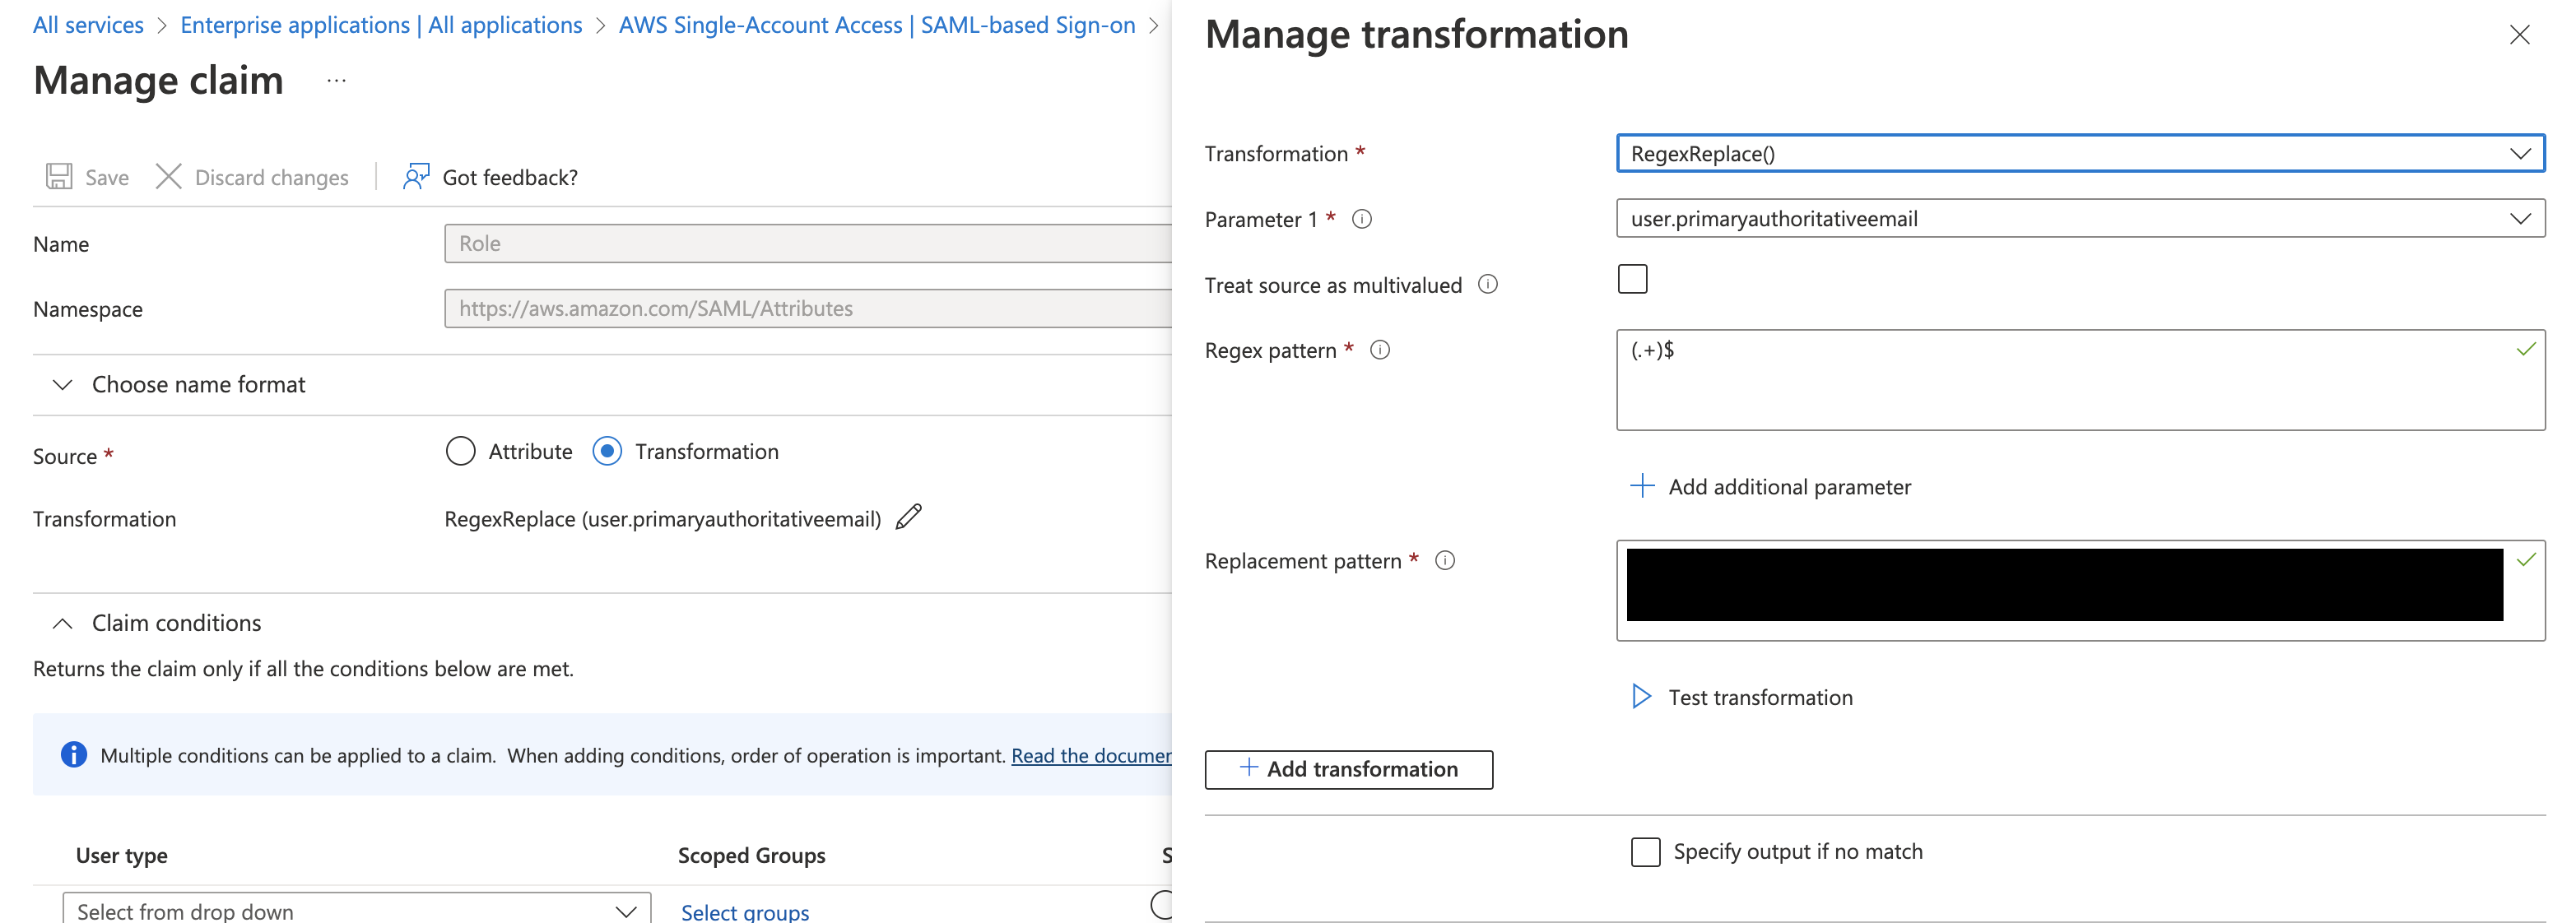
Add The app to Specific Users
Then give this app to specific users and let them login to the aws-team!